
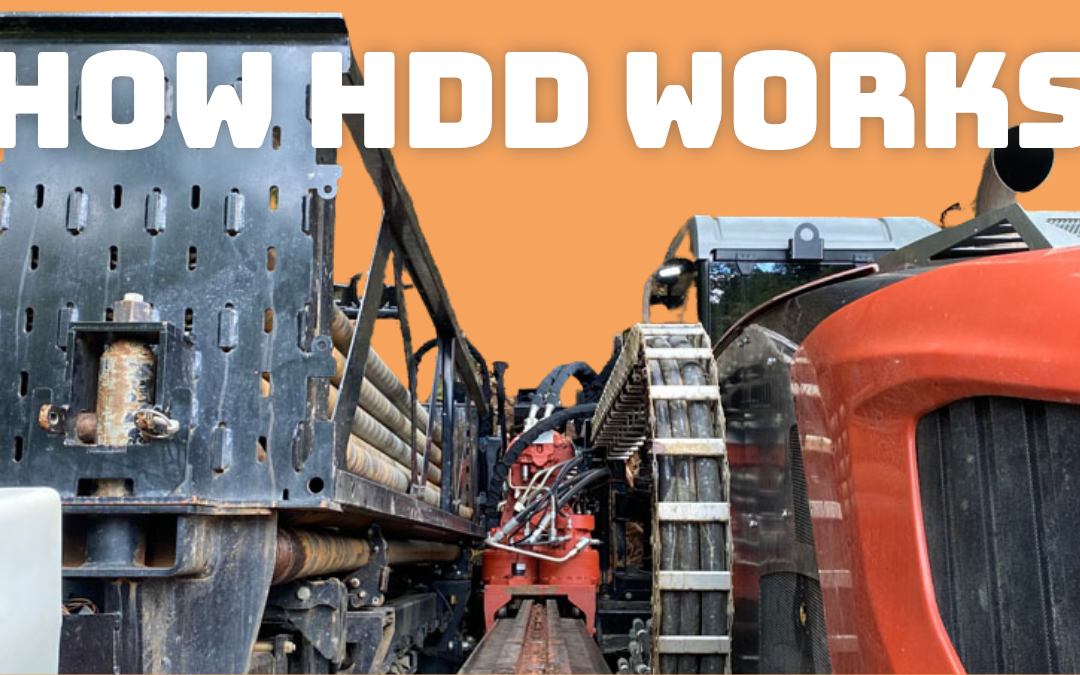
Understanding how horizontal directional drilling works starts with one important idea: the bore is built in stages.
Horizontal directional drilling, commonly called HDD, does not simply drill a finished hole from one side to the other. The crew first creates a smaller pilot bore. That path may then be enlarged through reaming before the final pipe is pulled into place.
Each stage affects the next.
At Atlas Group, that means the crew focuses heavily on planning, steering, drilling fluid, bore condition, and communication before the final product ever enters the ground.
HDD Starts on an Angle
Horizontal directional drilling does not begin by drilling straight down.
Instead, the drill is positioned at an angle and begins moving forward through the ground. From there, the operator can gradually steer the drill head up, down, left, or right.
Kyler Woody of Atlas Group explained that the machine may begin on an angle such as 22.5 degrees. The goal is to gradually reach the required depth and then continue along the planned underground path.
This is what gives HDD much of its flexibility.
A bore can travel beneath:
- Roads
- Rivers
- Railroads
- Existing utilities
- Steep terrain
- Developed areas
However, the drill cannot make an instant 90-degree turn.
The path has to be designed around the steering limits of the drill rods, tooling, and final pipe.
That is why setup distance and planning matter before the drill ever starts.
Steering Depends on the Ground and Tooling
The type of drill head can change based on the material underground.
In softer ground, Atlas Group may use tooling with an angled face. As the crew pushes without rotating, that angled face helps steer the drill in a chosen direction.
When the tooling rotates, it cuts more evenly and moves forward.
Rock requires a different approach.
Atlas Group described using a rock motor or inner-rod setup with a bent section that helps guide the bore while the cutting portion continues rotating.
In either case, the driller and locator work together to manage the path.
The locator tracks where the drill head is underground, while the driller controls the machine.
That communication becomes critical as the bore develops.
The Pilot Bore Builds the Path
The first complete path from the drill to the target is called the pilot bore.
This is one of the most important stages of how horizontal directional drilling works.
The pilot bore establishes the route that the rest of the installation will follow.
Atlas Group spends significant time getting this step right because the later stages depend on it. Once the pilot reaches the exit point, the crew has created what Woody described as a man-made conduit through the ground.
If the finished product is relatively small, the pilot hole may already provide enough space.
Larger installations require another step.
The crew must enlarge the bore.
A Good Pilot Bore Is More Than Hitting the Target
Simply reaching the other side does not automatically mean the pilot bore was successful.
Atlas Group looks at several factors.
The crew wants to know:
- Did the drill maintain good fluid returns?
- Did the bore reach the intended target?
- Did the crew avoid unnecessary steering?
- Did the path respect the bend radius of the final pipe?
- Does the drill move smoothly through the completed path?
Oversteering can become a serious problem.
Many products have a maximum allowable bend radius. If the bore path changes direction too sharply, the final pipe may become stressed during installation.
Woody explained that steel pipe can even wrinkle when forced through excessive bends.
That damage may not be visible after installation.
For Atlas Group, a good pilot bore should feel smooth and controlled, not simply arrive at the correct location.
Ground Conditions Can Make Steering More Difficult
The path underground is rarely uniform.
Layered rock can create steering problems because the drill may follow the natural seams between formations.
For example, a drill head may reach the boundary between two rock layers and struggle to climb into the harder layer above it.
Similar issues can occur in layered soil.
That is one reason geotechnical information can be so valuable.
Knowing what is underground helps crews select tooling, drilling fluid, and an approach that matches the expected conditions.
Unknown ground conditions are much harder to prepare for.
Drilling Fluid Supports the Entire Bore
Drilling fluid is a major part of the HDD process.
Atlas Group starts with water and bentonite as the base mixture. Additional products may then be added depending on the ground conditions.
The fluid performs several jobs.
It helps:
- Carry cuttings out of the bore
- Lubricate the tooling
- Support the walls of the hole
- Reduce friction
- Protect the final pipe
- Maintain the bore path for later passes
Woody described drilling fluid as the “lifeline” of the bore.
Unlike auger boring, HDD does not install steel casing as the excavation progresses.
Instead, the drilling fluid helps create and support the underground path.
If the fluid system is wrong, problems can develop quickly.
Fluid Returns Can Reveal Trouble
During drilling, Atlas Group wants to see drilling fluid returning from the bore.
Those returns help show that material is moving through the hole as expected.
A sudden loss of fluid can be one of the earliest warning signs of trouble.
The fluid may be entering a void, cavern, coal seam, or another underground feature.
On one project, Atlas Group lost fluid only a few rods into a river bore. The crew continued pumping but saw almost none of the fluid return.
Woody estimated that approximately 60,000 to 70,000 gallons disappeared into underground voids during that project.
That example shows how much the crew relies on fluid behavior to understand what is happening underground.
The bore itself is hidden.
The returns help tell the story.
Reaming Enlarges the Bore
Once the pilot bore is complete, the crew may need to enlarge it.
This process is commonly called reaming or hole opening.
Atlas Group explained that the finished bore generally needs to be larger than the pipe being installed. That additional space allows drilling fluid and cuttings to move around the product and helps reduce friction during pullback.
The crew attaches a reamer or hole opener and works it through the existing pilot path.
For larger installations, the bore may require several reaming passes.
Atlas Group generally prefers gradually increasing the hole size instead of making one very large jump.
Why Atlas Group Uses Multiple Reaming Steps
The pilot bore creates more than an empty opening.
The drilling fluid penetrates the surrounding soil and helps form a supported bore wall.
If the next reamer is too large, it may cut outside that supported zone and effectively create a new bore path.
Atlas Group prefers to keep each enlargement within the area already supported by the previous pass when possible.
That may take longer than attaching the largest reamer immediately.
However, it gives the crew more control.
On sensitive crossings, that control can be especially important.
Atlas Group may also use different reaming techniques depending on the project, including pull reaming and swab reaming.
The Final Stage Is Pullback
Once the crew is satisfied with the bore, the final product can be installed.
That stage is called pullback.
The pipe is connected to the drilling assembly and pulled through the prepared bore to its final location.
This is one of the most critical points of the project.
Atlas Group described pullback as the moment when everything has already been invested into the bore.
The pilot is complete. The hole has been enlarged. The pipe is prepared.
Now the crew has to finish the installation.
Stopping during pullback can create serious problems.
Because of that, Atlas Group has a clear conversation with the entire project team before starting a major pull.
Once the pipe begins moving, the goal is to keep it moving until the installation is complete.
HDD Is a Process, Not a Single Pass
Understanding how horizontal directional drilling works means looking at the full sequence.
A typical HDD project may include:
- Planning the bore path
- Setting the drill at the proper angle
- Steering the pilot bore to the target
- Monitoring drilling fluid and returns
- Enlarging the hole through one or more reaming passes
- Preparing the final product
- Pulling the pipe into place
Each stage builds on the one before it.
Atlas Group performs horizontal directional drilling throughout West Virginia, Ohio, Pennsylvania, Kentucky, Virginia, and surrounding areas.
For the Atlas Group team, the goal is not simply to reach the other side.
It is to build the best possible bore path so the final pipe can be installed with control, accuracy, and confidence.